The below files / links are used from my YouTube channel and free to the public. Use them at your own discretion!
Benchmarking:
RocBlas:
The below files / links are used from my YouTube channel and free to the public. Use them at your own discretion!
Benchmarking:
RocBlas:
GPU’s in this test:
AMD
Vega 64, Radeon Vii, Instinct Mi50, RX 6800, RX 7900 xtx, and RX 9070 xt
nVidia
RTX 3090, 4080, 5060 ti, 5070 ti, 5090
Intel
Arc A770
8096 context window
batch 512
fa “on”
Here’s the model used in all benchmarks:
https://huggingface.co/unsloth/gpt-oss-20b-GGUF/tree/main (Q4_K_M)
Here’s a link to my benchmark that I used in the video, so that you might try it on your own rig:
https://drive.google.com/file/d/1eXtBOATYKkchl96b7vS_ie3O4Lvdkyi3/view?usp=drive_link
(rotate your device for better viewing)
In my first install of Linux (Ubuntu 22.04) in Sept, 2025, I just installed Ollama for testing all of these gpu’s LLM performance. Working with Ollama looked easy. I’d not used any LLM software previously, so that’s what I did. After attempting to replicate my efforts present day, (Nov 2025) I couldn’t seem to get Ollama working with my Radeon 7 / Mi50 gpu’s. I finally realized it was due to the version that installs when you run the standard Ollama install:
curl -fsSL https://ollama.com/install.sh | sh
On my old Linux from Sept, I was running Ollama v0.12.3.
As of today, if you install Ollama from the curl command shown above, it installs v0.13.0.
In v0.12.3, the automatic installation of ROCm which accompanies Ollama includes their own gfx906 tensor files in /rocm/library that Ollama uses. In the more recent versions of Ollama, these gfx906 files have been omitted.
So if you desire to simply install Ollama and run it, without messing with separate installations of ROCm 7.x and AMDGPU, you can. Just go to the manual installation page for Ollama and scroll down to “install specific version” section and amend the command to pull v0.12.3. Run ‘ollama serve’ with ‘sudo’ and it’ll bypass systemd permissions. See YouTube video above, it goes live on 11/23/25 – 6am CST.
If you really want to squeeze every last drop of performance out of your Vega 20 cards (and who doesn’t?) you’ll want to build your own llama.cpp app. It’s really not too complicated. Here’s a basic outline.
Assuming you have a fresh Ubuntu 24.04 (noble) installation, run this command to install prerequisites for building llama.cpp:
sudo apt update && sudo apt install -y \
git cmake curl build-essential ninja-build \
python3 python3-venv python3-pip \
rocm-dev rocm-libs rocm-hip-sdk rocblas \
libcurl4-openssl-dev
Next, visit GitHub – ggml-org/llama.cpp: LLM inference in C/C++
     git clone https://github.com/ggml-org/llama.cpp
     cd llama.cpp
There is a “build source from repository by visiting our build guide” link down in the QuickStart section. Visit the HIP section of below Github page (it’s near the mid-bottom of page)
llama.cpp/docs/build.md at master · ggml-org/llama.cpp · GitHub
Run the command that they provide in the HIP section (but swap gfx1030 for gfx906 – or use whatever gfx#### matches your gpu architecture.) You can run “rocminfo” and view the various “Agent” line items that it shows in order to see the gfx architecture of your gpu.
Here is command for building llama.cpp with gfx906 gpu:
 HIPCXX="$(hipconfig -l)/clang" HIP_PATH="$(hipconfig -R)" \
cmake -S . -B build -DGGML_HIP=ON -DGPU_TARGETS=gfx906 -DCMAKE_BUILD_TYPE=Release \
&& cmake --build build --config Release -- -j 16
Let it build with CMake. Any prerequisites you’ll have to install first. Your system will tell you if you are missing any.
Don’t be afraid to use an online ai chat bot to get assistance. I find that they make the use of Terminal prompt extremely easy to navigate… copy / pasting most of my commands after having them put in correct syntax via the bot.
Once llama.cpp is built, you can run this command to make llama commands work from anywhere, else you have to be inside your llama.cpp/build/bin directory.
Create a symlink:
sudo ln -s ~/llama.cpp/build/bin/llama-cli /usr/local/bin/llama-cli
Then:
llama-cli --versionI highly recommend utilizing MoE (mixture of experts) style models. They aren’t as densely layered and ultimately perform WAY better than non-MoE models do on older Vega cards in general.
Here’s a sample command to download a model from huggingface:
(from the /home/$USER/llama.cpp/build/bin directory)
./llama-cli -hf ggml-org/gpt-oss-20b-GGUFOnce the model is downloaded, load the model into llama-server with: (change these parameters to your liking / need / gpu capacity)
ROCR_VISIBLE_DEVICES=0 (assuming rocm-smi shows your gpu as 0)./llama-cli -m /home/$USER/.cache/llama.cpp/ggml-org_gpt-oss-20b-GGUF_gpt-oss-20b-mxfp4.gguf \
-ngl -1 \
-c 5012 \
--n-predict 1024 \
-b 2048 \
--interactive-firstThat should be it!!! You can download whatever model in whatever quantization you prefer from a variety of sources.
Here’s a link to my benchmark script:
https://drive.google.com/file/d/1eXtBOATYKkchl96b7vS_ie3O4Lvdkyi3/view?usp=drive_link
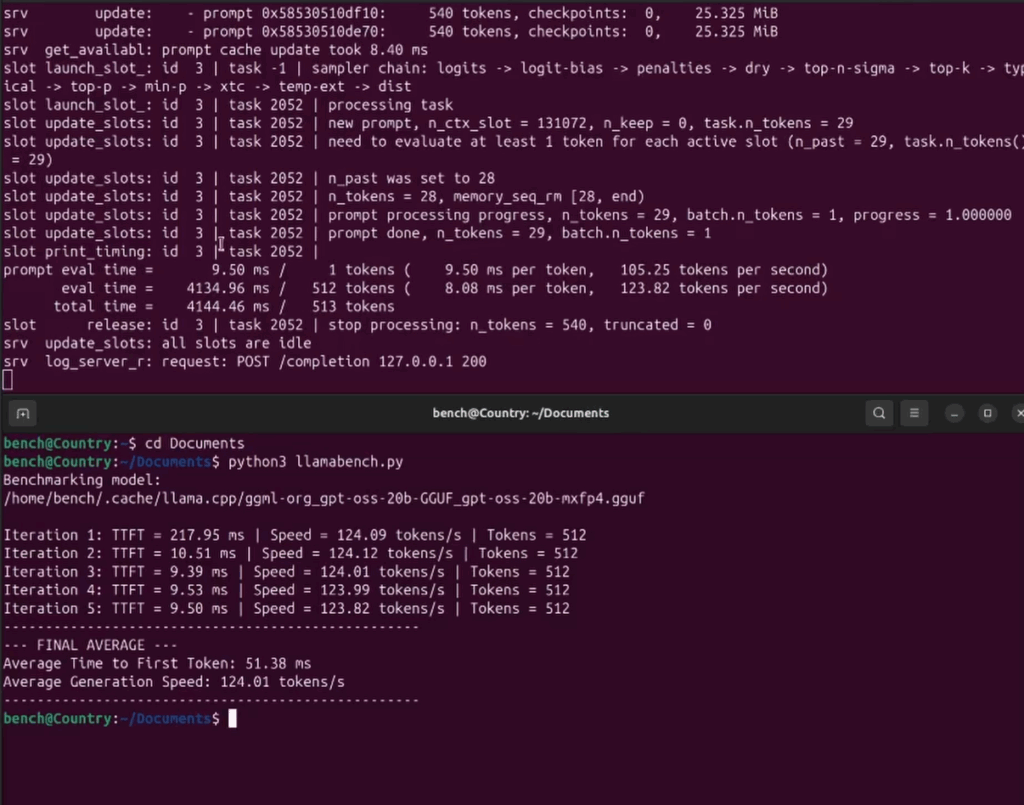
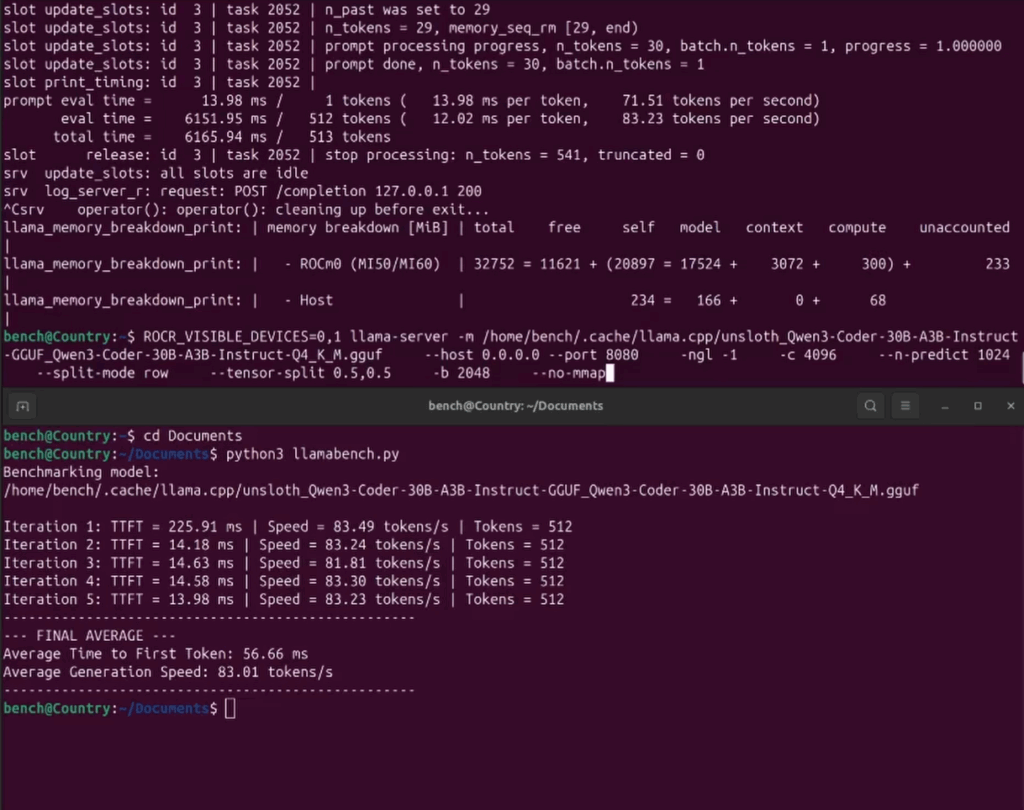
Enjoy some tremendous speeds!!! As shown below:
gpt-oss:20b
qwen3:30b
Next stage of our project: Image / Video Generation!!! (PyTorch, Stable Diffusion, ComfyUI.
With our ROCm 7.1.x installed and running llama.cpp correctly, we can now move on to the next phase of the project, using our Mi50’s (gfx906) for image generation.
After many days of jumping through hoops with dependencies and running consumer gfx906 (Radeon) + data center (Mi50) gpus, I opted to, in the end, just pull a docker image that was compiled for this setup.
I used this site to pull my docker image:
https://github.com/mixa3607/ML-gfx906
You’ll have to install docker first. That’s easy:
sudo apt-get update
sudo apt-get install ca-certificates curl gnupg lsb-release
sudo mkdir -p /etc/apt/keyrings
curl -fsSL https://download.docker.com/linux/ubuntu/gpg | sudo gpg –dearmor -o /etc/apt/keyrings/docker.gpg
echo \
“deb [arch=$(dpkg –print-architecture) signed-by=/etc/apt/keyrings/docker.gpg] \
https://download.docker.com/linux/ubuntu \
$(lsb_release -cs) stable” | sudo tee /etc/apt/sources.list.d/docker.list > /dev/null
sudo apt-get update
sudo apt-get install docker-ce docker-ce-cli containerd.io
sudo docker run hello-world
And here is my script to sync a local directory to the docker image and launch the ComfyUI app:
docker run –rm -it \
–name comfyui \
–device=/dev/kfd \
–device=/dev/dri \
–group-add video \
-e HSA_VISIBLE_DEVICES=0,1,2 \
-e ROCM_VISIBLE_DEVICES=0,1,2 \
-p 8188:8188 \
-v “$HOME/comfyui/models”:/comfyui/models \
-v “$HOME/comfyui/input”:/comfyui/input \
-v “$HOME/comfyui/output”:/comfyui/output \
-v “$HOME/comfyui/custom_nodes”:/comfyui/custom_nodes \
-v “$HOME/comfyui/user”:/comfyui/user \
mixa3607/comfyui-gfx906:v0.3.69-rocm-6.3.3-20251118163804 \
bash -c “cd /comfyui && python3 main.py –listen 0.0.0.0 –port 8188”
As you are likely aware, running a docker image comes with some restrictions… as the dependencies are “baked into” the image. There are ways to install necessary requirements besides the fact. But it works at it’s basic level. “ComfyUI Manager” for example, will not run for me as gitpython doesn’t seem to be in the container.
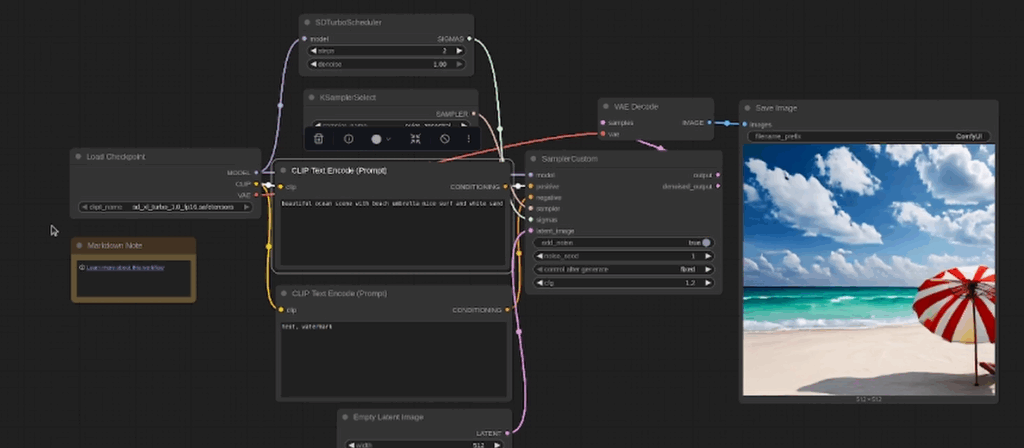
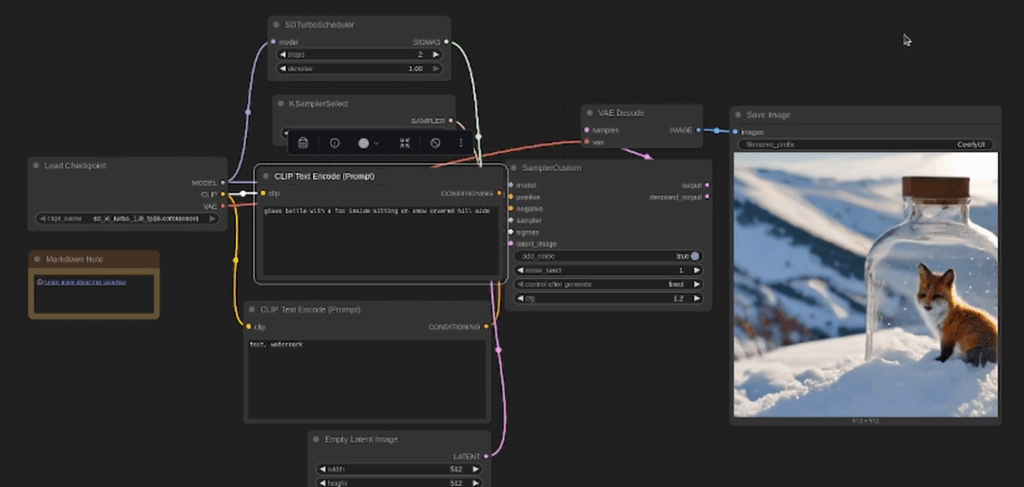
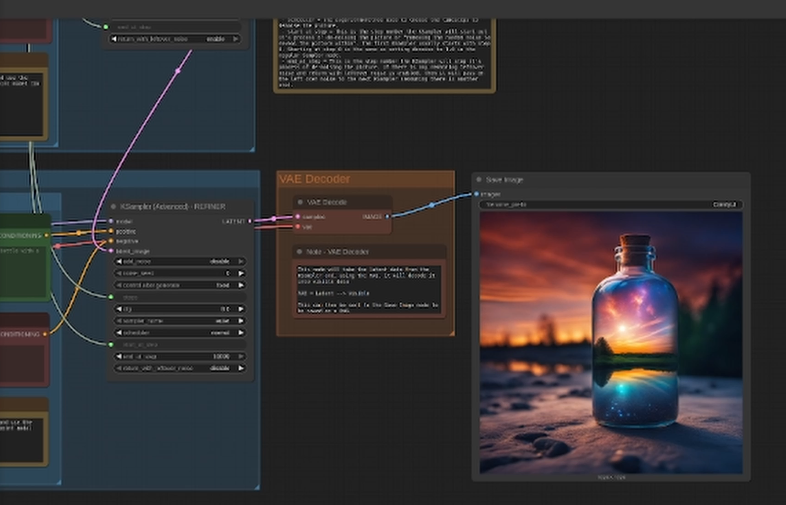
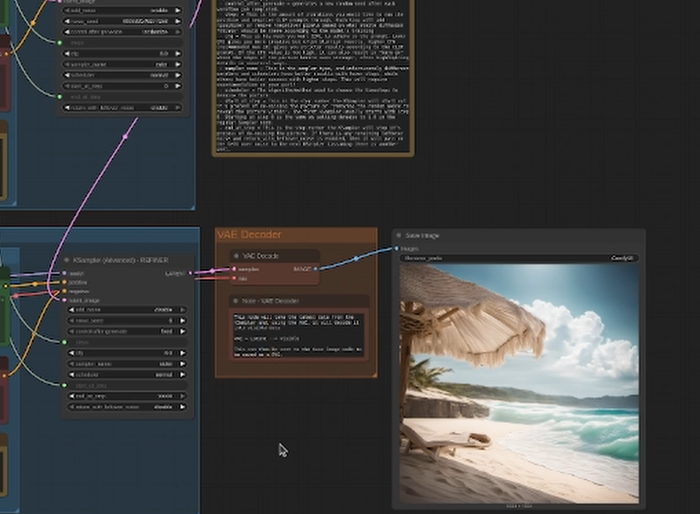
Here are some screen shots of the SD Turbo model:
And here are a few examples of the Stable Diffusion Simple model:
Unfortunately, I couldn’t get the SVD (Stable Diffusion Video) model to work with my Mi50 / Radeon 7 combo. I got the HIP error each time. I’ll keep working on it… or please leave me some tips below or reach out directly via email to “david@countryboycomputersbg.com”
Hey hey, howdy y’all. I’m finally getting around to updating this site with all of the benchmark result as of today, Nov 3, 2025. **Please be aware, any video on my YouTube channel released prior to Oct 1, 2025 is running the older benchmark script (with incorrect calculation of tokens / sec). Any video on my channel without a TTFT entry in the results is the old, incorrect version. So any video you see that includes the TTFT in the benchmark results is the new / correct version.
This experiment is ongoing. We aim to determine the performance of various dual GPU combos. They are tested in relation to the mighty RTX 5090 running Ollama. This testing occurs on both Windows and Linux. This is required by non-supported AMD GPUs.
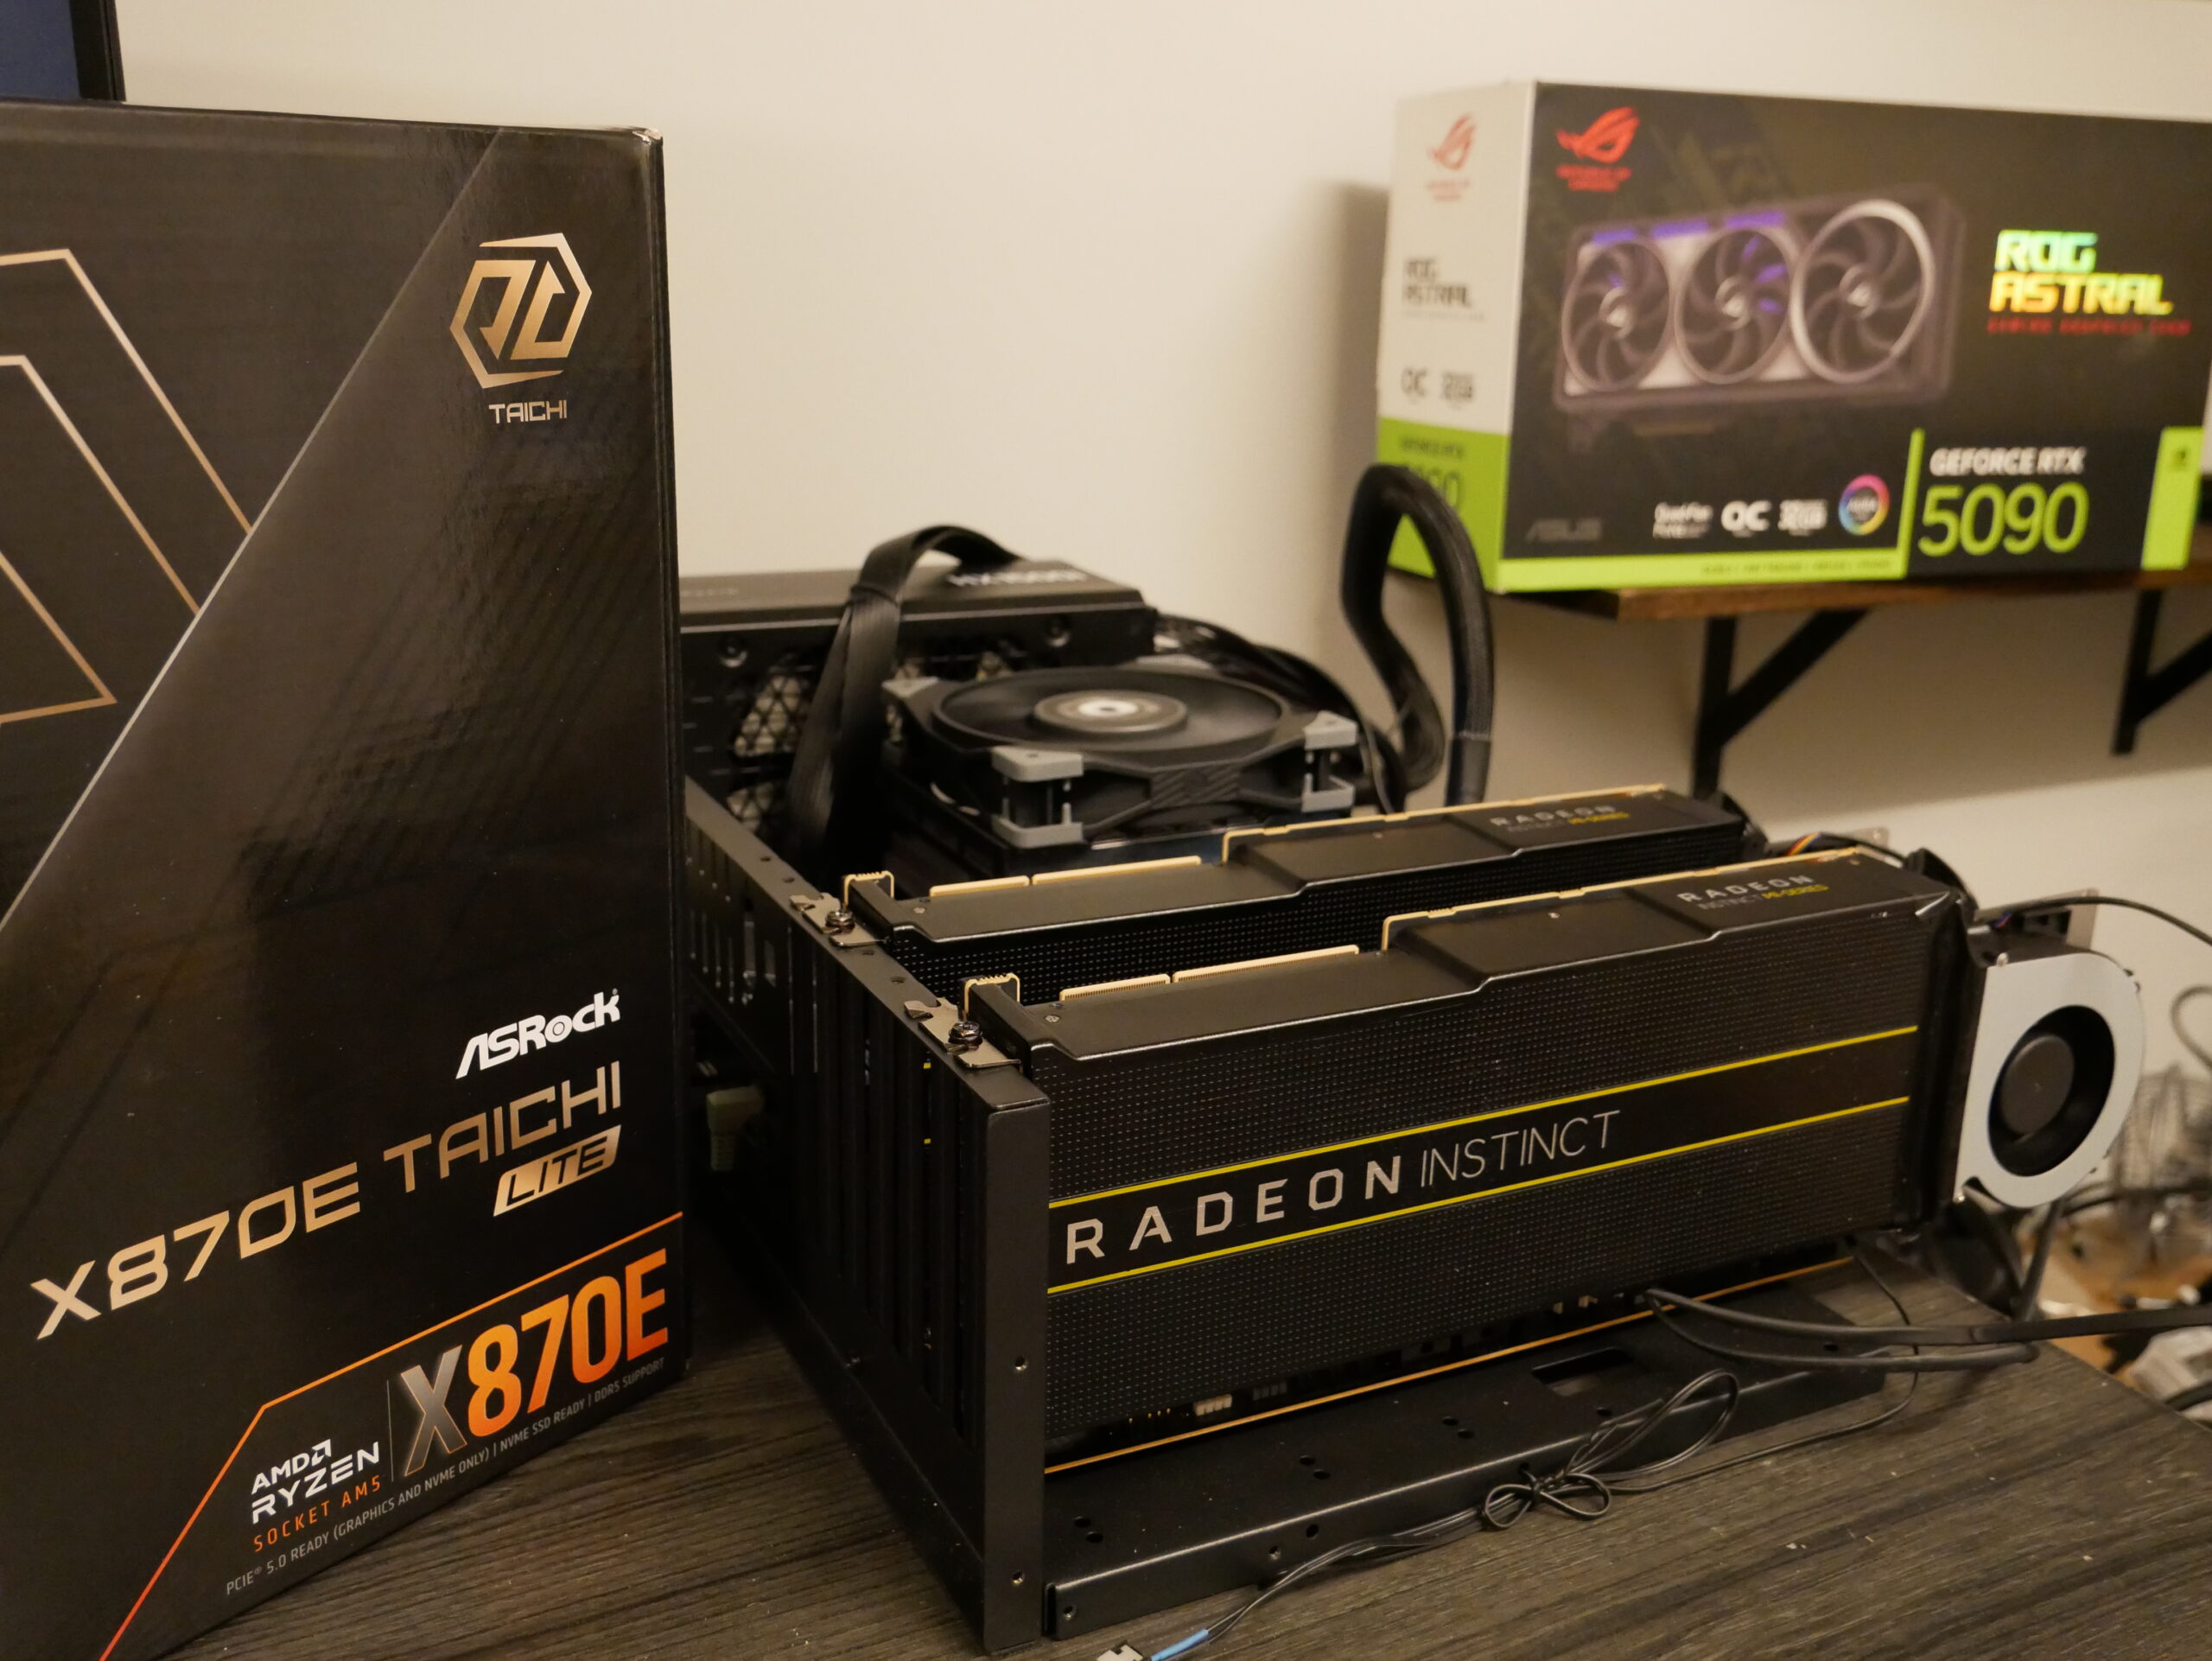
This page will be updated regularly as I continue to test different gpu’s. As of now, I’ve been utilizing the AsRock Taichi Lite X870E motherboard. It’s the most affordable AM5 option with TWO pcie 16 slots -both directly connected to the CPU. The typical motherboard schematic has the 2nd (or 3rd) pcie16 slot passed off to the chipset… thus severely limiting its overall bandwidth and likely increasing latency. There are a growing number of X870E skus available that offer a similar arrangement. These include ASUS CROSSHAIR, MSI MAG, etc. However, they are considerably more expensive.
Here are links to the components in / similar to the Test Bench used:
Mobo options :
AsRock X870E Taichi Lite : https://newegg.io/ncb4bd8957
AsRock X870E Taichi : https://newegg.io/nc95a0076e
CPU options :
AMD Ryzen 9600X : https://newegg.io/ncb6298192
AMD Ryzen 9700X : https://newegg.io/ncd0d1e481
AMD Ryzen 9950x3D : https://newegg.io/nc58f6ccf0
GPU options :
Astral 5090 = https://newegg.io/ncd344387c
ASUS PRIME 5080: https://newegg.io/nce7016dec
Gigabyte Gaming 5080 = https://newegg.io/nc929461c8
Gigabyt Gaming 5070ti = https://newegg.io/ncf53c069a
G.Skill ram : https://newegg.io/nc671c78cc
Power Supply : https://newegg.io/nc5abcc719
The graph below shows the GPU SKU, LLM model, and results. It compares 1 card versus 2 card configurations and displays the wattage of the overall system.
If there is a particular gpu setup that you’d like to see, please reach out to me at david@countryboycomputersbg.com or leave a comment on YouTube.
Most of these tests are on YouTube, check ’em out on my channel:
Country Boy Computers BG – YouTube
(rotate your phone for better viewing)
Here’s the latest RTX 5090 / dual 5080 / dual 5070 ti video